Only things I strongly believe in make it into a NourishNestBreathe post. To help support NourishNestBreathe, links included in this post may be affiliate links, meaning, at no additional cost to you, I will earn a commission if you click through and make a purchase. To learn more, visit the Terms of Use Page.
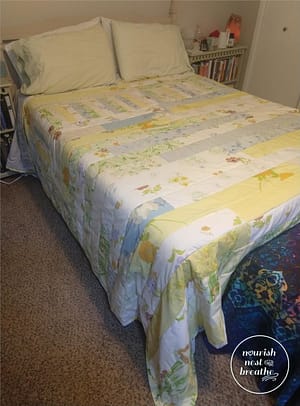
Look how wide and long the quilt is – with this much length on each side, no one has to fight to keep the blankets on their side of the bed!
Several years ago, I saw this video of a group of women racing to make a Jelly Roll 1,600 quilt top. And I decided I had to make a quilt using this technique! Only I wanted to make it from upcycled materials. And I wanted it to be much larger than the original pattern. Oh right, and I probably wanted it to have a little more interest than the original version.
First, a note about our bedding
I do a few unique things which make my bed a pleasure to not only climb into each evening, but also to make each morning and to change the sheets for each week. Here are my tips:
I no longer use fitted sheets. It was always a battle to get them onto the mattress, and they tended to spring off at least one corner before the end of the week (I change my sheets weekly). Now I use a flat sheet as my fitted sheet!
We have a queen sized bed, I use king sized sheets (I like to use sheets one size larger than the bed). One sheet serves at the bottom sheet, using hospital corners and fully tucking it in, I have never had it accidentally slide off the mattress. I use a king sized sheet for the top sheet as well, tucking it in only at the bottom of the bed (we like to be able to move at night, and it makes it much easier to make the bed in the morning if I don’t have to tuck sheets in just to have them pulled out again).
Our duvet is also king sized. Adam and I both have blanket hog tendencies (although don’t tell him I admitted to it). A blanket which is one size larger than the mattress allows plenty of overhang on each side so no one is left in the cold! Unfortunately, we did not have a king sized summer quilt. I like to use something more than a sheet in the summer, but it needs to be light enough for the warmer weather. While I had the materials gathered (and had even started the process a few years ago, it took me a while to move this to the top of my project list long enough to finish it!
Gathering your materials
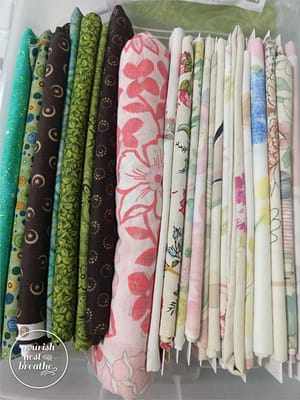
Two quilts waiting to become – the green and brown fabrics on the left were purchased new, the pink tones on the right are all upcycled linens.
I knew I wanted to use upcycled fabric for the quilt and was really drawn to quilts on Pinterest created from vintage linens. Since I wanted to use a large variety of patterns, I decided to use pillowcases for my fabric. I picked a colorway and searched out thrift stores over a period of several months, only purchasing pillowcases in that colorway which looked vintage and were made of cotton or a cotton/poly blend. If the thrift store had a matched set, great, if not given the quilt design, I was happy to pick up singles as well.
I ended up buying about a dozen pillowcases to make this quilt top (at no more than $2 each, this was much less expensive – and much more environmentally friendly – than buying the fabric new). I have some fabric left over, but not a ton, however, please note that the size of the pillowcases and the amount of fabric I was able to get out of each varied. You may want to pick up an extra few pillowcases if you are worried you won’t have enough fabric.
The back of the quilt is a king size sheet. I was able to use it without adding on any additional fabric, but it was tight. You might also want to consider picking up a couple extra pillowcases to expand your backing if needed.
Finally, I used a 120”x120” cotton quilt batting. This was the only item I purchased new for this project.
Preparing your fabrics
Once you have gathered all of your pillowcases (and a sheet for the quilt back) wash and dry them. Make sure that if any shrinkage is going to happen, it happens before you cut and sew.
The next step is great for working on while watching television or listening to podcasts. You want to use a seam ripper and pull out all of the seams on the pillowcases and your sheet. If you are thinking this will take you ages and ages, watch this video to learn how to use a seam ripper properly – it rocked my world when I learned this technique!
Warning, you will have a lot of loose thread floating around while ripping out the seams, you probably don’t want to tackle this project right after you have vacuumed the house! (This is coming from someone who learned that lesson the hard way.)
Once all of your seams are removed, iron your fabric and cut strips 4.5” by the longest width of your fabric (this will depend on the pillowcase construction). With the leftover pieces, cut strips that are 2.5” x12” (these will be the vertical stripe detail).
Quilt top construction
Unless noted otherwise, I used a ¼” seam allowance for everything.
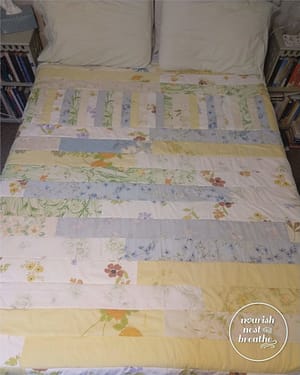
Here is the quilt on the bed from above – you can see the vertical detail is offset toward the top of the quilt.
The quilt top is made the same way as the Jelly Roll 1600 quilt. You want to join all of your 4.5” wide strips along the short edge. I tried to go with a patter rotating between a piece with a white/cream background, then yellow background, then blue background, however, once this starts going together you can’t really tell there was any pattern. The only thing I would suggest is you try not to sew together two pieces which look similar.
If you want to make a quilt which is 110”x110” (the size I made) and you are going to have the vertical stripes (as pictured above), you will want to create a long strip around 230 yards. This sounds super long (and it is), I measured the length of my crafting table and then counted how many table lengths I had to estimate my length (you do not need to be exact, but should err on the side of too much rather than too little).
Once you have all of your short edges sewn together, you want to sew along one long edge, ensuring that you do not have your strip twisted. (Refer to the Jelly Roll Race video to see how this comes together.) Cut the strip when you get to the end of the seam. Continue sewing long edges together until it is eight strips tall.
At this point, cut off a chunk from your quilt top that is 110” wide and eight strips tall. This will be the upper portion of your quilt top. With the remainder, sew once more along the long edge – you will now have a piece which is 16 strips tall and should be about 110” wide. If necessary trim this piece to 110” wide.
Putting both of these pieces to the side, sew your 2.5” strips together along their long edges until you have a piece that is 110” wide by 12″ tall. Iron all of your seams on each of the three pieces flat (when quilting, I press to one side instead of pressing them open).
Sew the three pieces together with the vertical stripes running between the two horizontal striped sections. Iron the new seams, and square up the top.
Assembling the quilt
Once you have the quilt top ready to go, carefully layout the quilt back (right side down), the batting, and the quilt top (right side up). Once you have everything centered and smooth (for me this was a near impossible task with a quilt this big – I ended up with a few puckers on the back, but nothing I can’t live with) attach your three layers. I like to use quilting pins like these to attach my quilt layers together.
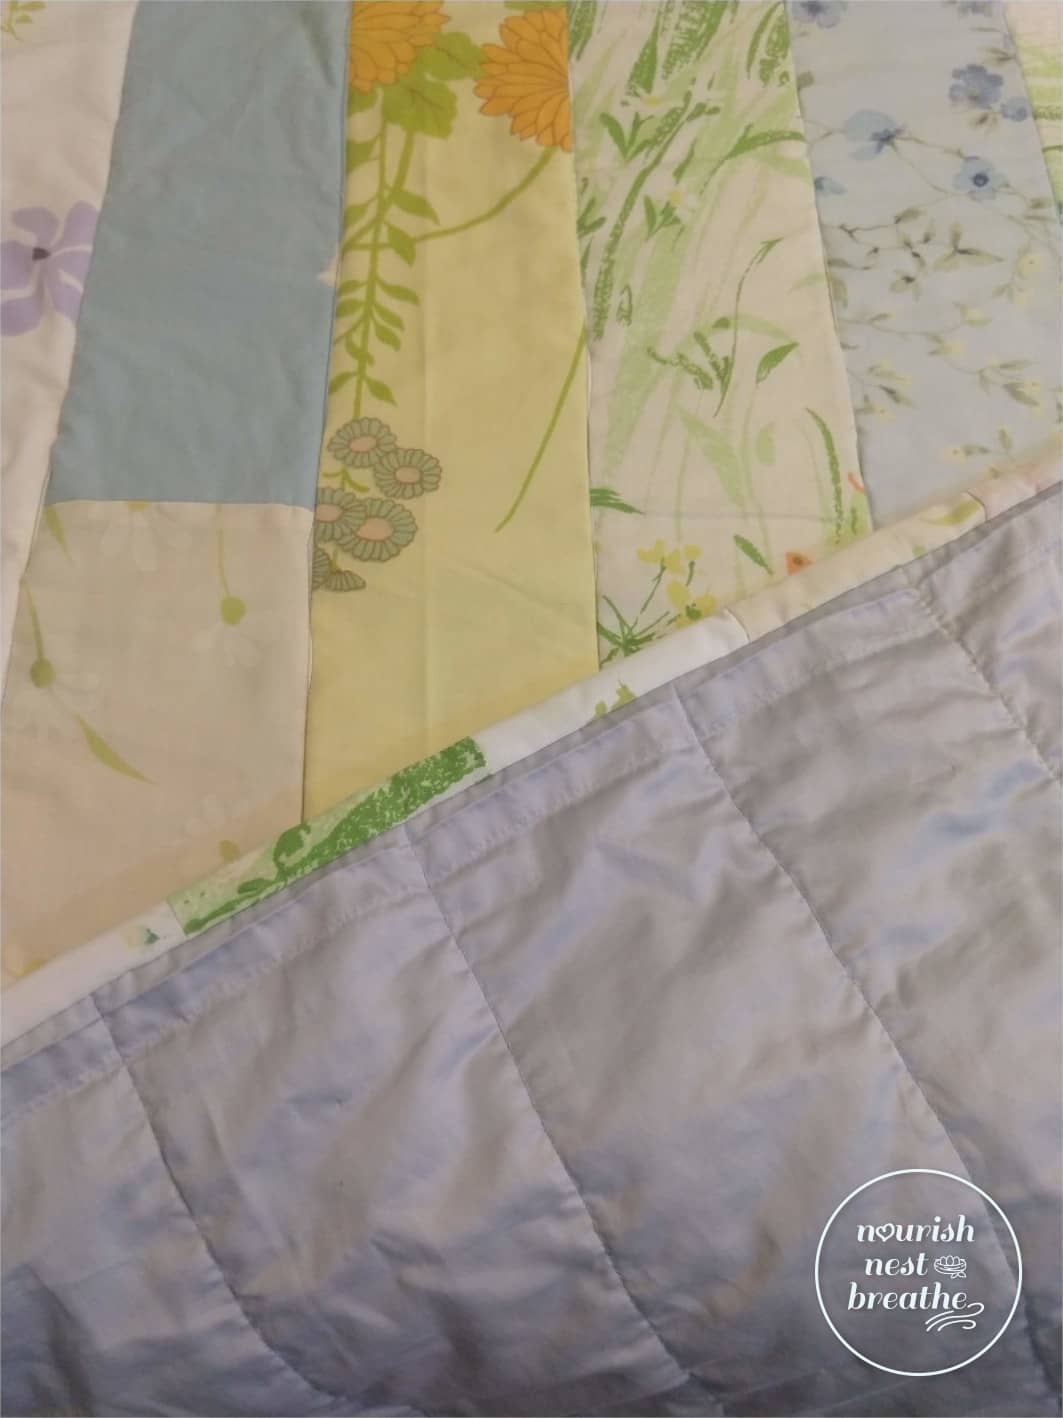
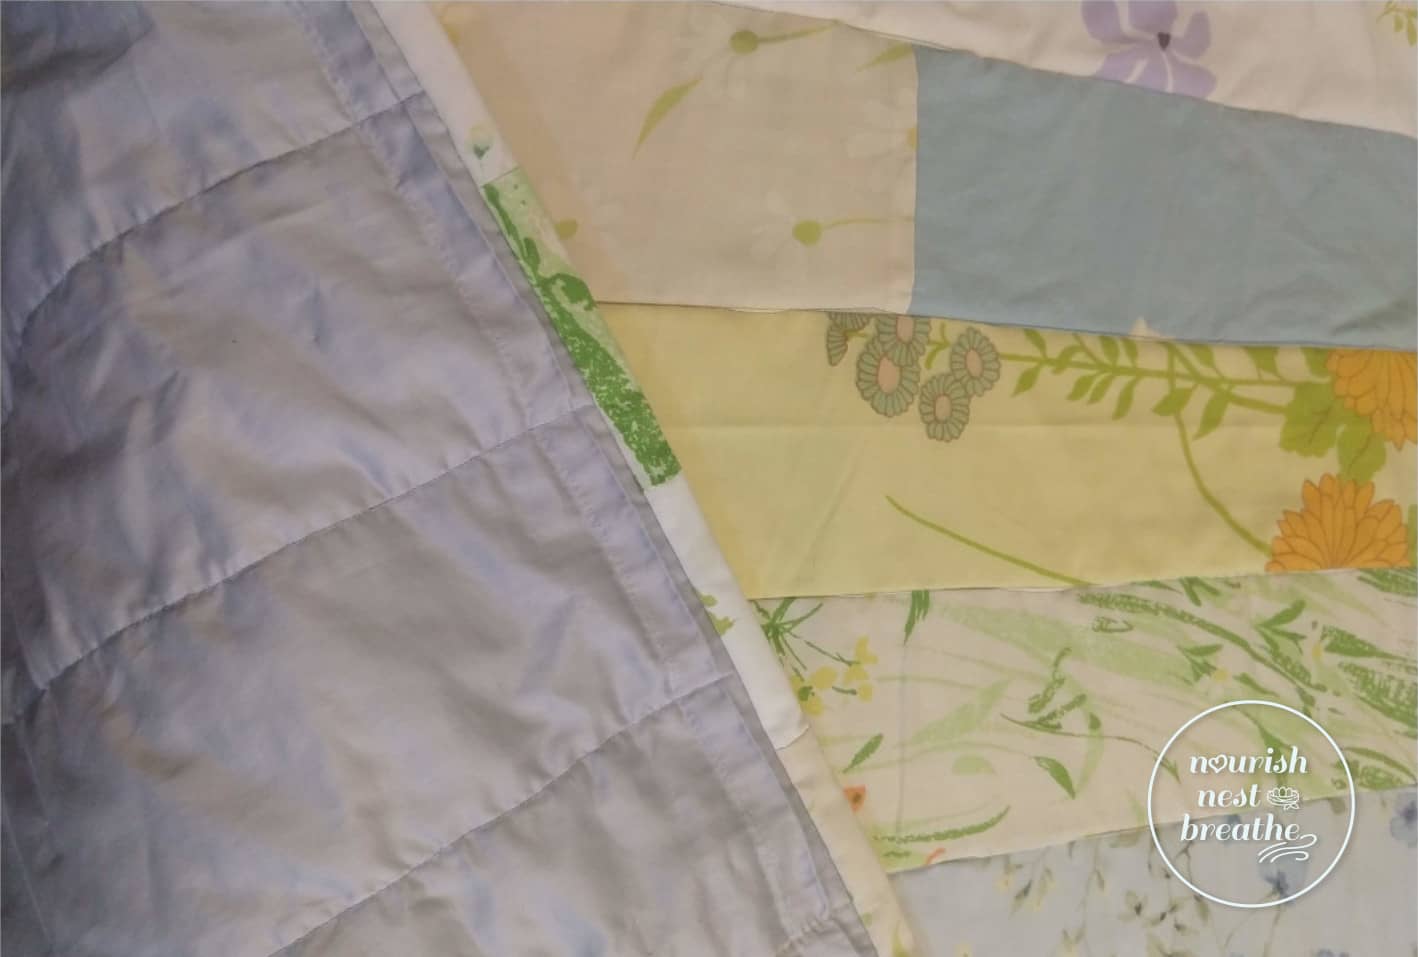
Next you want to do the actual quilting, sewing all three layers together. I decided to sew along the long seams where the strips are attached together. This quilt is not perfect, I did not get every seam exactly in the ditch, but I like the look – it makes it feel a little more handmade. I did switch thread colors a few times so there is a little bit of interest on the back since the sheet I used for backing is just one solid color.
Important note – if you are quilting using the same technique I did – sew all seams in the same direction. If you switch directions (starting where your last row finished) the odds of skewing your fabric (despite the pins) and pulling the entire thing out of alignment is high.
Once you have finished quilting using whatever design you choose, you will need to trim up the quilt. Using whatever tools work for you, you want to ensure your edges are straight and you have right angles at the corners.
Quilt binding
I used leftover 4.5” strips I had cut for the front but didn’t need to make my quilt binding. Sew them together along the short edges. Iron all seams, then fold the strip in half along the long edge. Iron that fold in place. Pin the binding to the back of the quilt. The open end of the binding should be facing the edge of the quilt, and I attached mine ¼” from the edge to allow more fabric for wrapping around the front of the quilt.
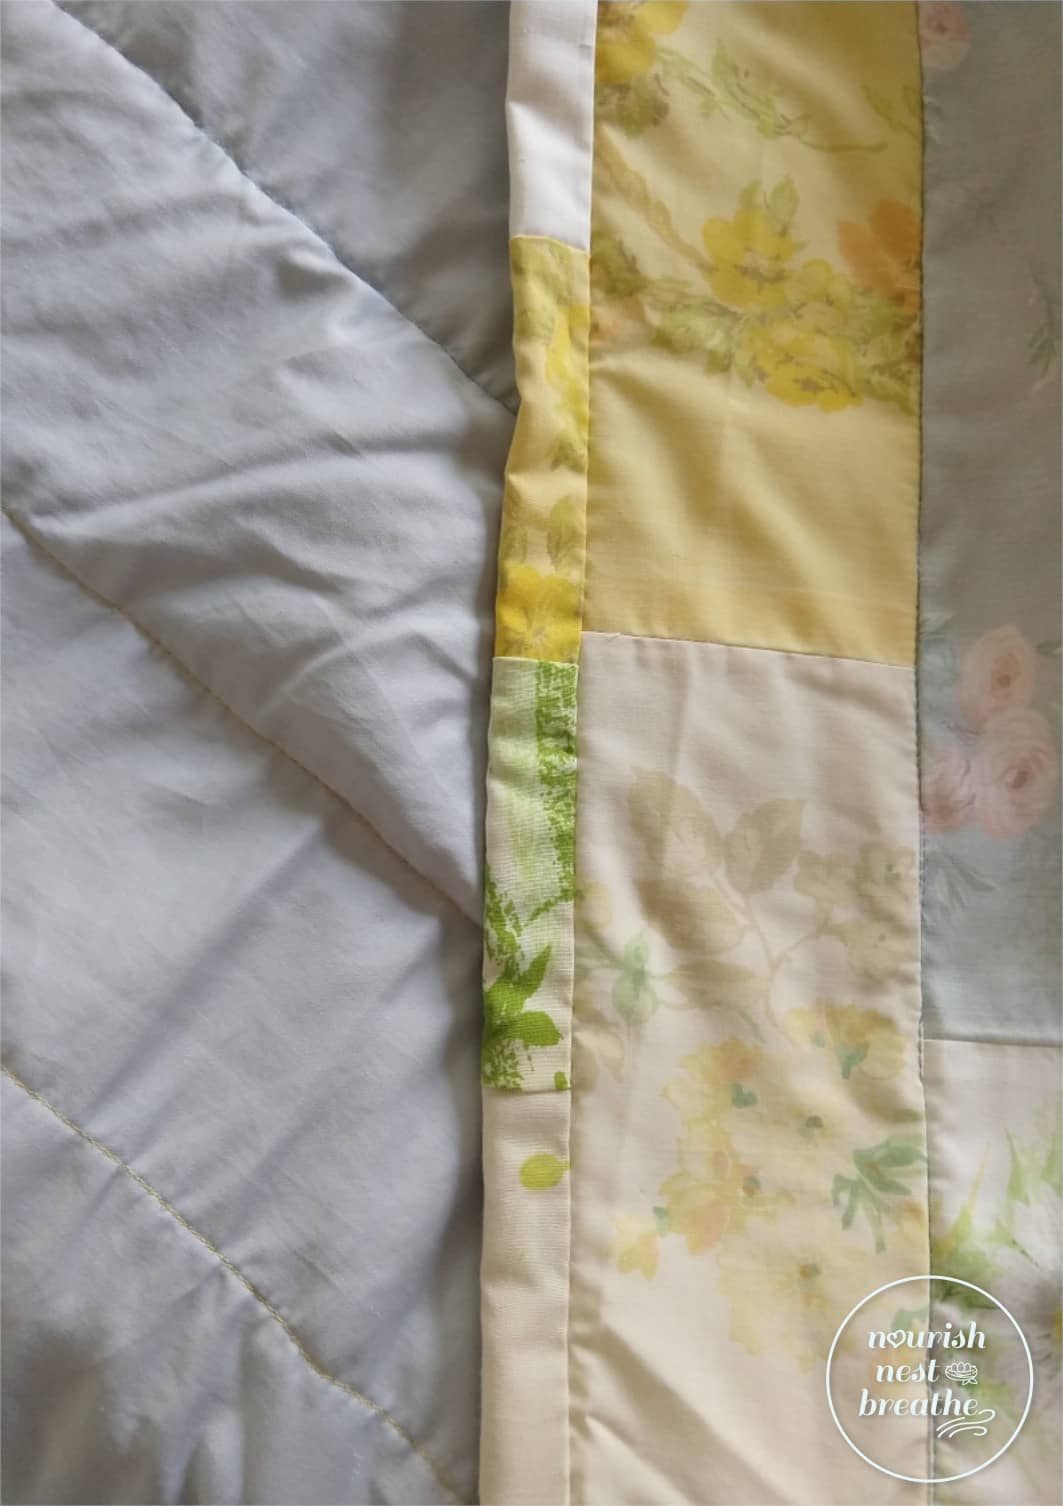 Notice the binding is wider on the front than the back – that is due to setting the binding strip 1/4″ in from the edge when attaching to the back.
Sew the binding with a ¼” seam allowance on the binding (½” allowance from the edge of the quilt). When you reach the ends, fold one to the inside and tuck the other inside of it. I like to close this tuck by hand when sewing the binding to the front.
Pull the binding around to the front and pin, (you might want to pin in sections) attaching the folded edge of the binding to the front of the quilt.
I sew my quilt bindings on the front by hand because I like the look of the invisible seam. You can flip the binding to the front and sew by machine, but you will have a stitching line which does not line up on the back. I use this technique when hand sewing on the binding.
Finishing up the quilt
Once you have finished sewing on the binding, the only thing left to do is trim all of your loose threads. If you are a neater quilter than I am, you may not have much work to do – I however always have dozens of loose threads popping out from all over the quilt.
We have been using the new quilt for a few weeks now and we both love it! The weight is just perfect and it has kept us both at a great temperature – not too hot, not too cold. And even better – no blanket wars have broken out since it went onto the bed!
Wishing you a great night sleep in a bed that makes you happy!
Related
Leave a Reply Cancel reply
This site uses Akismet to reduce spam. Learn how your comment data is processed.
