Only things I strongly believe in make it into a NourishNestBreathe post. To help support NourishNestBreathe, links included in this post may be affiliate links, meaning, at no additional cost to you, I will earn a commission if you click through and make a purchase. To learn more, visit the Terms of Use Page.
You may know first hand (or you may have figured out from reading the blog) but I am a big fan of handmade gifts. As I work on a gift for someone I pour my love for them into the project. I like to believe that the recipient can feel that love when they receive the gift. These blessing flags are one of my favorite gifts to make – especially for someone marking a milestone event or who is ready to make a shift in their lives.
What are blessing flags
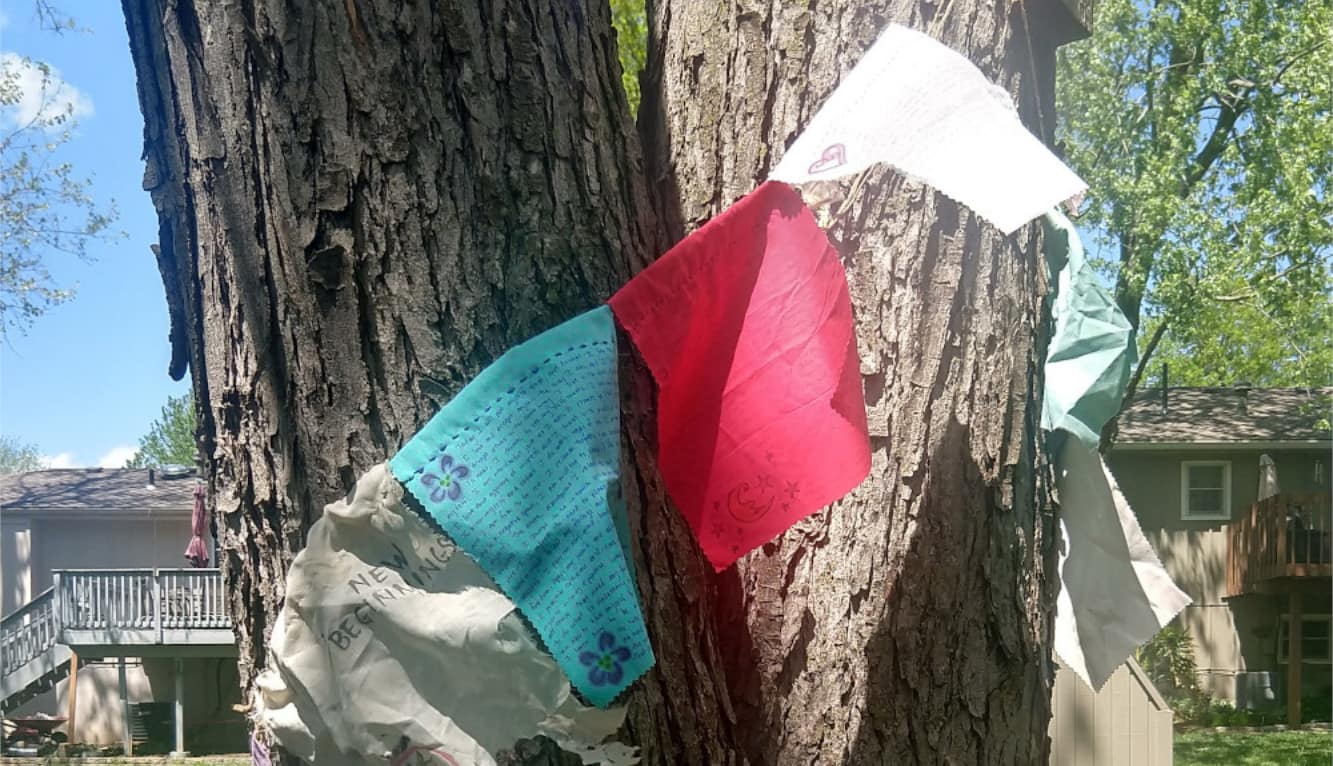
These are my version of Buddhist prayer flags. I cover a piece of fabric with affirmations I pick for the recipient, messages of things I wish for them. Often I will include an image or two on the flags as well. The intent is for the recipient to hang the flags outside and allow the wind, rain, snow and sun to take the words from the flags and into the universe to manifest into reality for them.
I also make these flags for myself and hang them outside our home. When I work on blessing flags for myself and for others, it is not only a process of calling in blessings, but also reflecting on all that I already have to be grateful for.
If this feels a little too woo-woo for you (or the recipient), I understand. Know that whether or not you believe the blessings are being carried into the universe to manifest, the thought that goes behind picking out the affirmations and creating the blessing flags is more than enough.
Think how touched you would be if someone gave you a gift of a piece of art they created filled with amazingly positive words about all the wonderful things they would like for you to have in your life. Know that you can give that gift to not only others, but yourself!
Gather your materials
To make the blessing flags you will need to gather a few simple materials. Most can be found around your house if you are crafty, or upcycled if you do not keep craft supplies on hand.
- Fabric – smooth, non-patterned fabric (I prefer cotton or a cotton blend), approximately 9.5” x 7” per flag (the fitted sheet that ripped when you put it on the bed the other day would be perfect for upcycling for this project)
- Yarn scraps
- Sharp pointed needle with an eye big enough to be threaded with the yarn of your choice
- Permanent markers (I like ultra-fine point sharpies)
- Pinking shears
- Scrap paper (at least as big as your flag)
- Clipboard
- Optional – Affirmations Printable, stamps and ink pads, relaxing music (I love putting on “Ambient Music” on Pandora) and a cup of tea
If you are planning to make several blessing flags, I would suggest working assembly line, completing several flags at each step before moving on. Make sure you have enough supplies to complete as many blessing flags as you would like. (I prefer to give them in sets of three or five as gifts – I think they look better hanging in multiples of odd numbers). If you are planning to gift multiples, you may want to use different colors of fabric, markers, and/or yarn.
Making your blessing flags
I like to start by getting comfortable, putting on relaxing music (I prefer no words) and pouring a cup of tea. This is a meditative process for me, allowing the affirmations to flow through me as they move from my mind onto the blessing flag. However you set yourself up, bring to mind the recipient of the blessing flags and all the good you wish for them to have in their life.
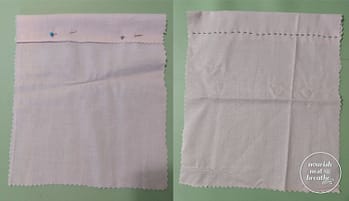
Cut each blessing flag out using your pinking shears so all four edges are pinked. This helps to prevent fraying as the flags are hanging out in the elements. Fold the top of the flag over by approximately 1.5”, pin it down, and secure with a medium sized running stitch 1” down from the fold. This will create a pocket for threading the blessing flags onto a cord of some sort for hanging.
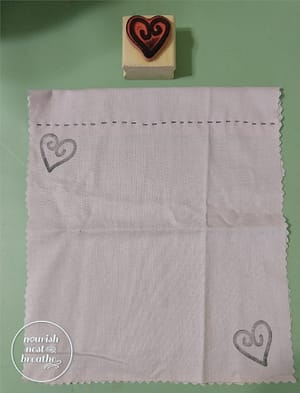
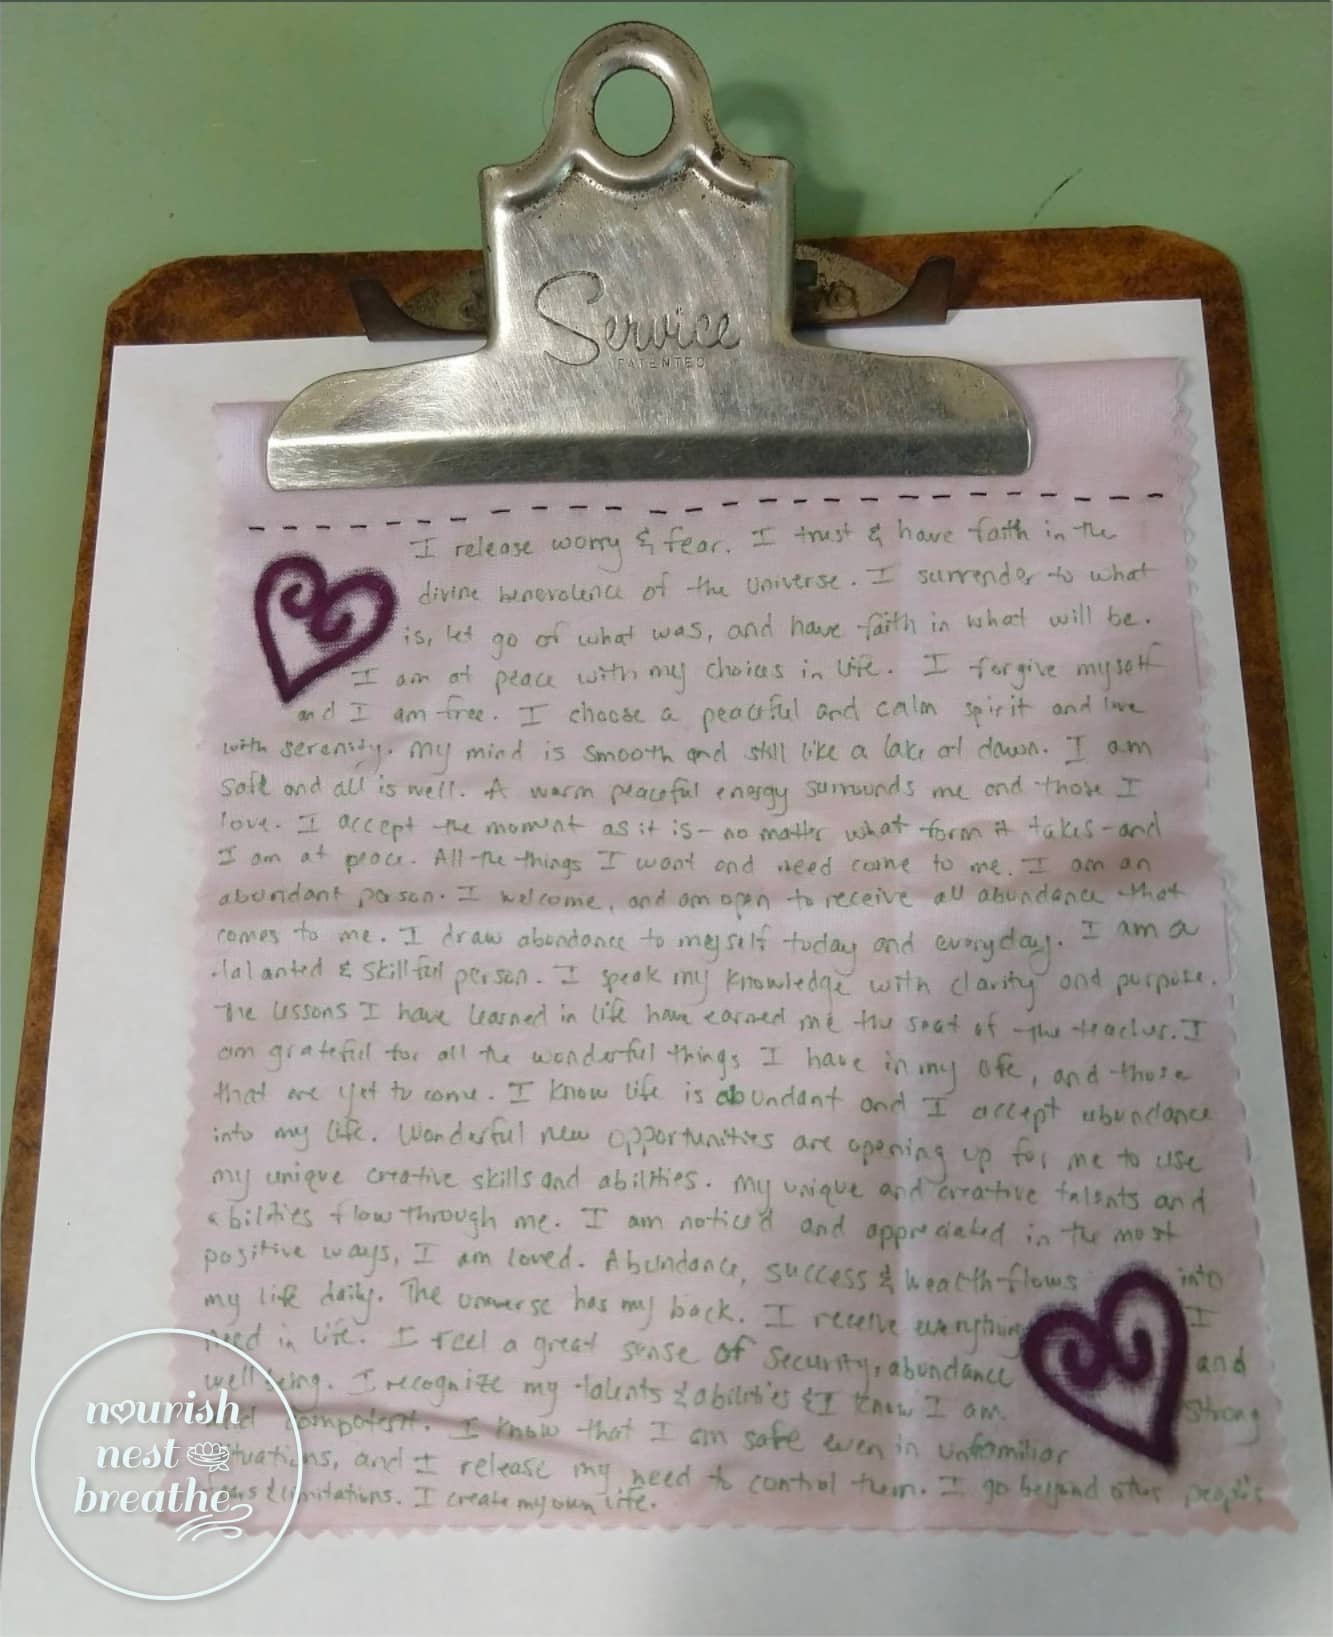
If you are going to decorate your flags with images, now is the time to add them. Place your clipboard down on your work surface. Add a few sheets of scrap paper (the sharpies tend to bleed through the fabric), and then place your blessing flag on top, sliding the hanging pocket under the clipboard clip to secure it. I like to use stamps and black ink to create the base image and then color in with markers. You can also create your images freehand if you prefer.
Once you have your images on the flag, begin to write the affirmations you would like to call in for the person you are creating these for. As you can see, I like to write them small and include as much as possible on each blessing flag. I let each affirmation run into the next with only the punctuation separating them. That is my artistic preference – you are creating your own art, so follow your own creativity.
After all of the affirmations are written in, these are complete. You can wrap them up and gift them (ideally with some instructions on allowing them to be in the elements as most people are afraid to “ruin” them that way).
Helpful tips
The Affirmations Printable is just a place to get you started. Follow your heart as you are writing the blessings you would like to call in for the person you are gifting these flags to. You may modify or ignore entirely the affirmations on the printable, it is simply intended as a starting point to get you going.
Even on smooth fabric, the markers can sometimes catch. To make the process a little easier, keep the fabric smooth by holding the bottom with your non-writing hand while the top is secured in the clipboard. You will also want to use a light hand when writing, sharpies deposit ink easily and you do not need to press down which will result in more frequent catching of the tip.
If you are really struggling with keeping the fabric smooth, you could try ironing the back of the flag to the shiny side of a piece of freezer paper. This should hold it smooth while you write but peel off when you are done. Make sure your iron does not touch the freezer paper as the plasticy stuff on the shiny side will melt onto your iron.
Sometimes I will get home from visiting a friend, or get off the phone from a call with them and realize I want to make them a few blessing flags ASAP. In order to make this easier for me, I keep a supply of blanks ready to go. I cut and sew the fabric in advance, but I do not decorate and add affirmations until I have a recipient. That way when I am ready, I can just pull the blanks and quickly get to the personalized part of the blessing flags.
Hanging your blessing flags
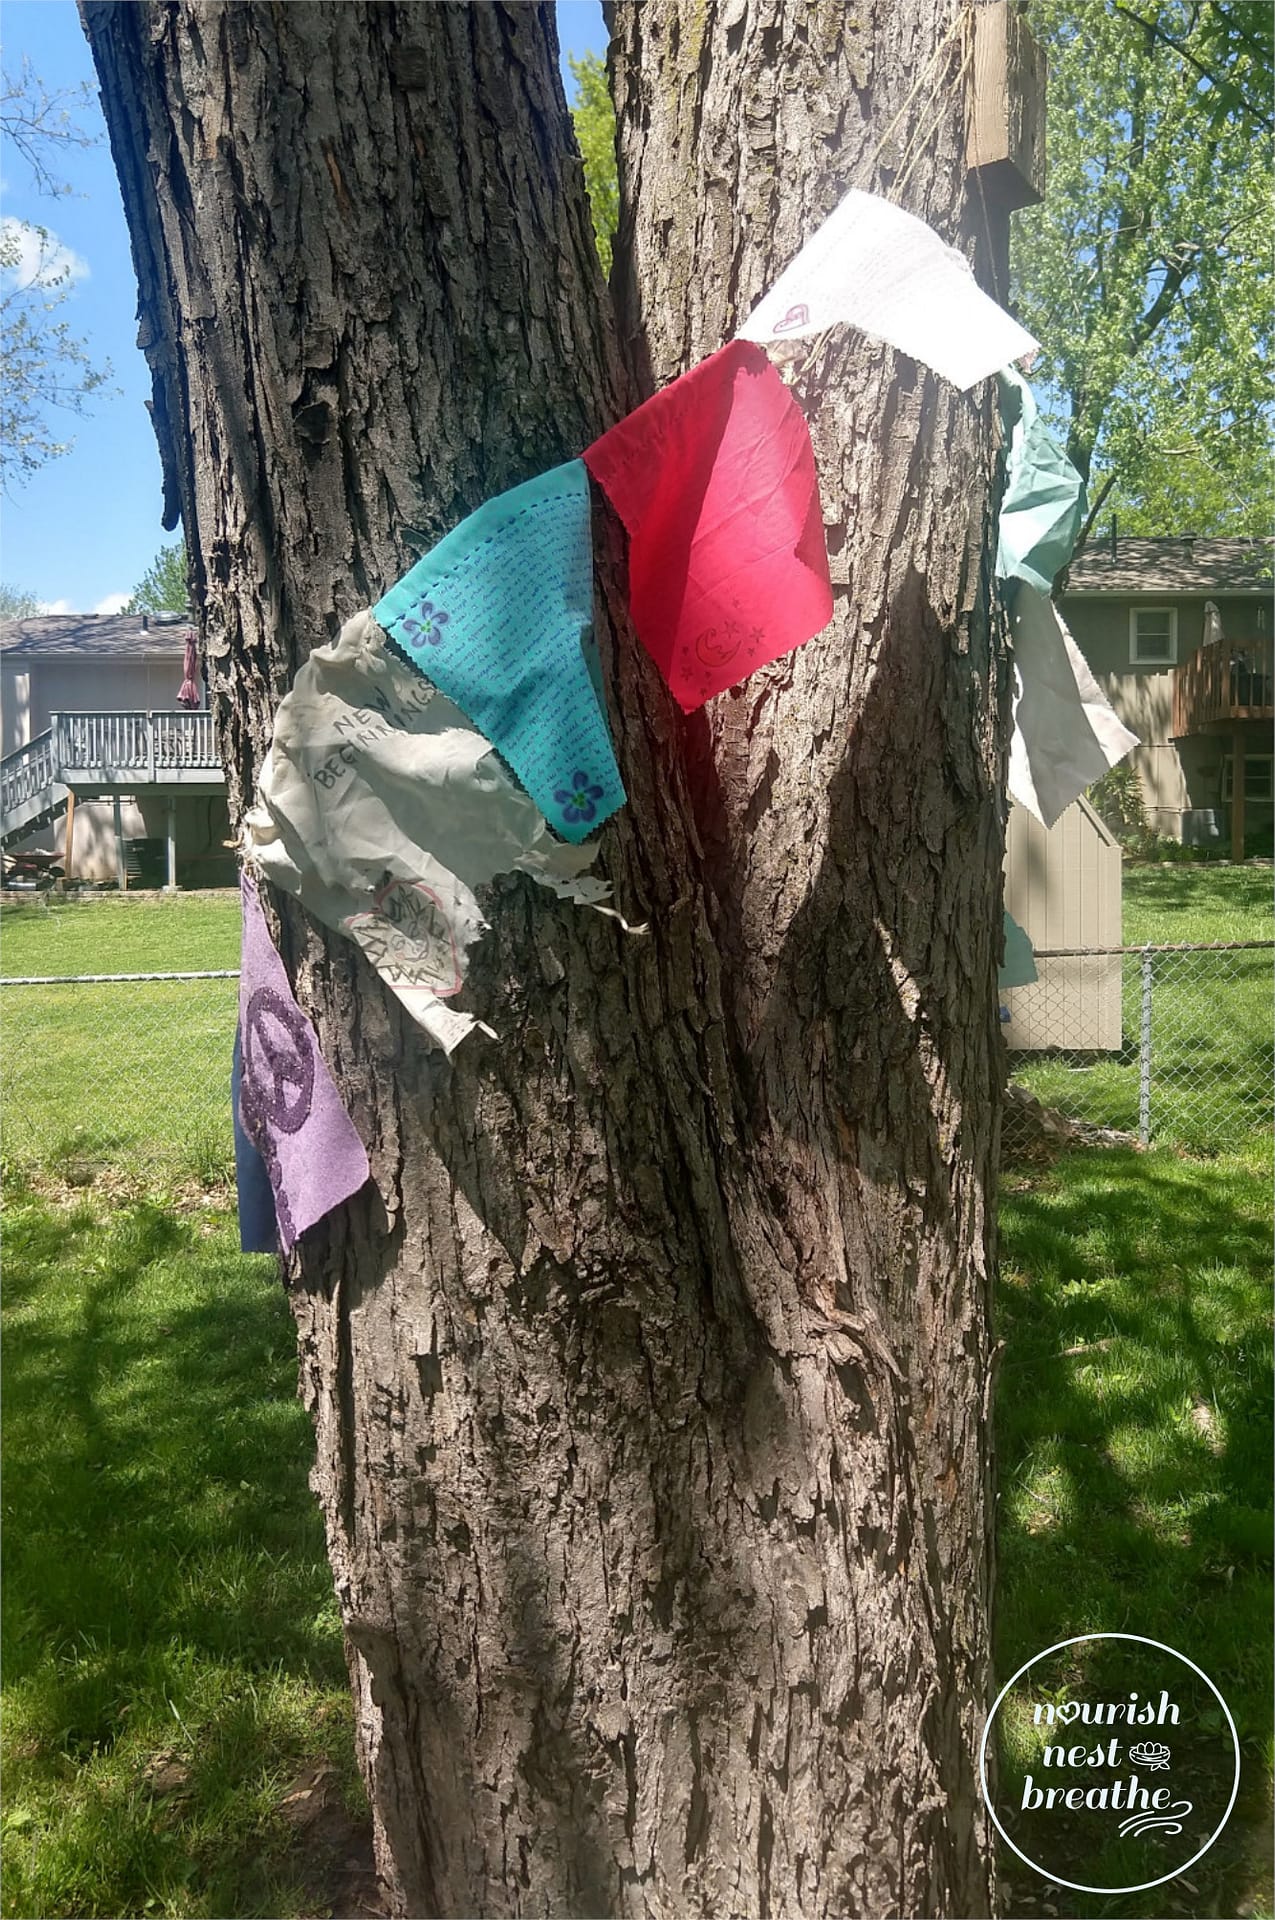 At our current house, the best place to hang the blessing flags was around a tree. Note a few on the left which we gifted to me and look different from the rest.
You can use anything that will hold up relatively well in the weather to hang your blessing flags. I have used twine, clothesline, and cotton yarn depending on my geographic location (and associated weather), the distance of the span I wanted to cover, and what I had on hand.
If you plan to add blessing flags to your collection over time, make sure you account for that when setting up your hanging system, you will want to be able to easily take one end down to add additional flags. I like to create a slipknot and cinch it around a nail or hook so I can easily slide it off to add extra flags, and tighten any sagging in the string.
When they are falling apart
I leave my blessing flags hanging until they are practically disintegrating. If you used cotton fabric, they can be added to your compost once they reach this point. This will allow you to return any bit of blessings left in them to mother earth to continue to manifest.
If you did not use a 100% natural fiber, composting is not an option. If you want to hang onto them, perhaps create a box or envelope you can designate to store them in. However, if you are ready to dispose of them, I suggest you do it in a way that is intentional and respectful of the blessings they both manifested into your life and still contain. Create a ritual that feels authentic to you and honors everything you initially imbued the blessing flags with.
Wishing you the joy of giving from your heart to yourself and others.
Related
2 thoughts on “Blessing Flags – tutorial and affirmations printable”
Leave a Reply Cancel reply
This site uses Akismet to reduce spam. Learn how your comment data is processed.
You are so good at anticipating questions and answering them for your readers. Not just in this post but in all of them. Have a good rest.
Thank you! I’m so glad you are enjoying reading the blog and getting so much out of it!